Using the Developer Portal
The Developer Portal has been configured, and now it’s time to run and test it. This guide walks you through starting the portal using either Node or Docker, along with steps for testing and verifying its functionality.
Running with Node
To configure and run the Developer Portal using Node / NPM, you need to set up the relevant environment variables for front-end and back-end communication.
Backend
This my-dev-portal-api/.env file contains the relevant environment variables for the back-end communication.
FRONT_END_DOMAIN=127.0.0.1:4000
Frontend
This my-dev-portal/.env file contains the relevant environment variables for the front-end communication.
# Frontend portal server
HOST="127.0.0.1"
PORT="4000"

# Portal API server
REACT_APP_DEV_PORTAL_API_SERVER="http://127.0.0.1:3030"
Ensure all other configurations are correctly set in their respective .env files. Once the .env files are configured, follow these steps to start the Developer Portal:
-
Start the API Application
- Navigate to the
/my-dev-portal-apidirectory in your terminal. -
Run the following command:
node app.js - Keep this terminal running.
- Navigate to the
-
Start the Front-End UI Project
- Open another terminal at the
/my-dev-portaldirectory. -
Run the following command:
npm start - Keep this terminal running.
- Open another terminal at the
Running with Docker
You can also run the Developer Portal using Docker. Ensure that Docker and Docker Compose are installed on your system. The following docker-compose.yml configuration lists the relevant environment variables, but be sure to include your current configuration:
version: '2'
services:
  dev-portal:
    image: moesif/dev-portal
    ports:
      - 4000:4000
    environment:
      - HOST=127.0.0.1
      - PORT=4000
      - REACT_APP_DEV_PORTAL_API_SERVER=http://dev-portal-api:3030

  dev-portal-api:
    image: moesif/dev-portal-api
    ports:
      - 3030:3030
    environment:
      - FRONT_END_DOMAIN=127.0.0.1:4000
To start the Developer Portal with Docker:
-
Run the following command from the
distribution/dockerdirectory:docker-compose up -d
Testing the Developer Portal
Once the Developer Portal is configured and running, thorough testing is essential to ensure functionality across multiple platforms. Follow these steps:
- Open your browser and navigate to the Developer Portal.
- At the Home Screen, click the Sign Up button in the top-right corner.
- Fill out the form to create a user.
- Subscribe to a product of your choice.
- Complete the checkout process.
- You should then land on the Dashboard screen of the Developer Portal.

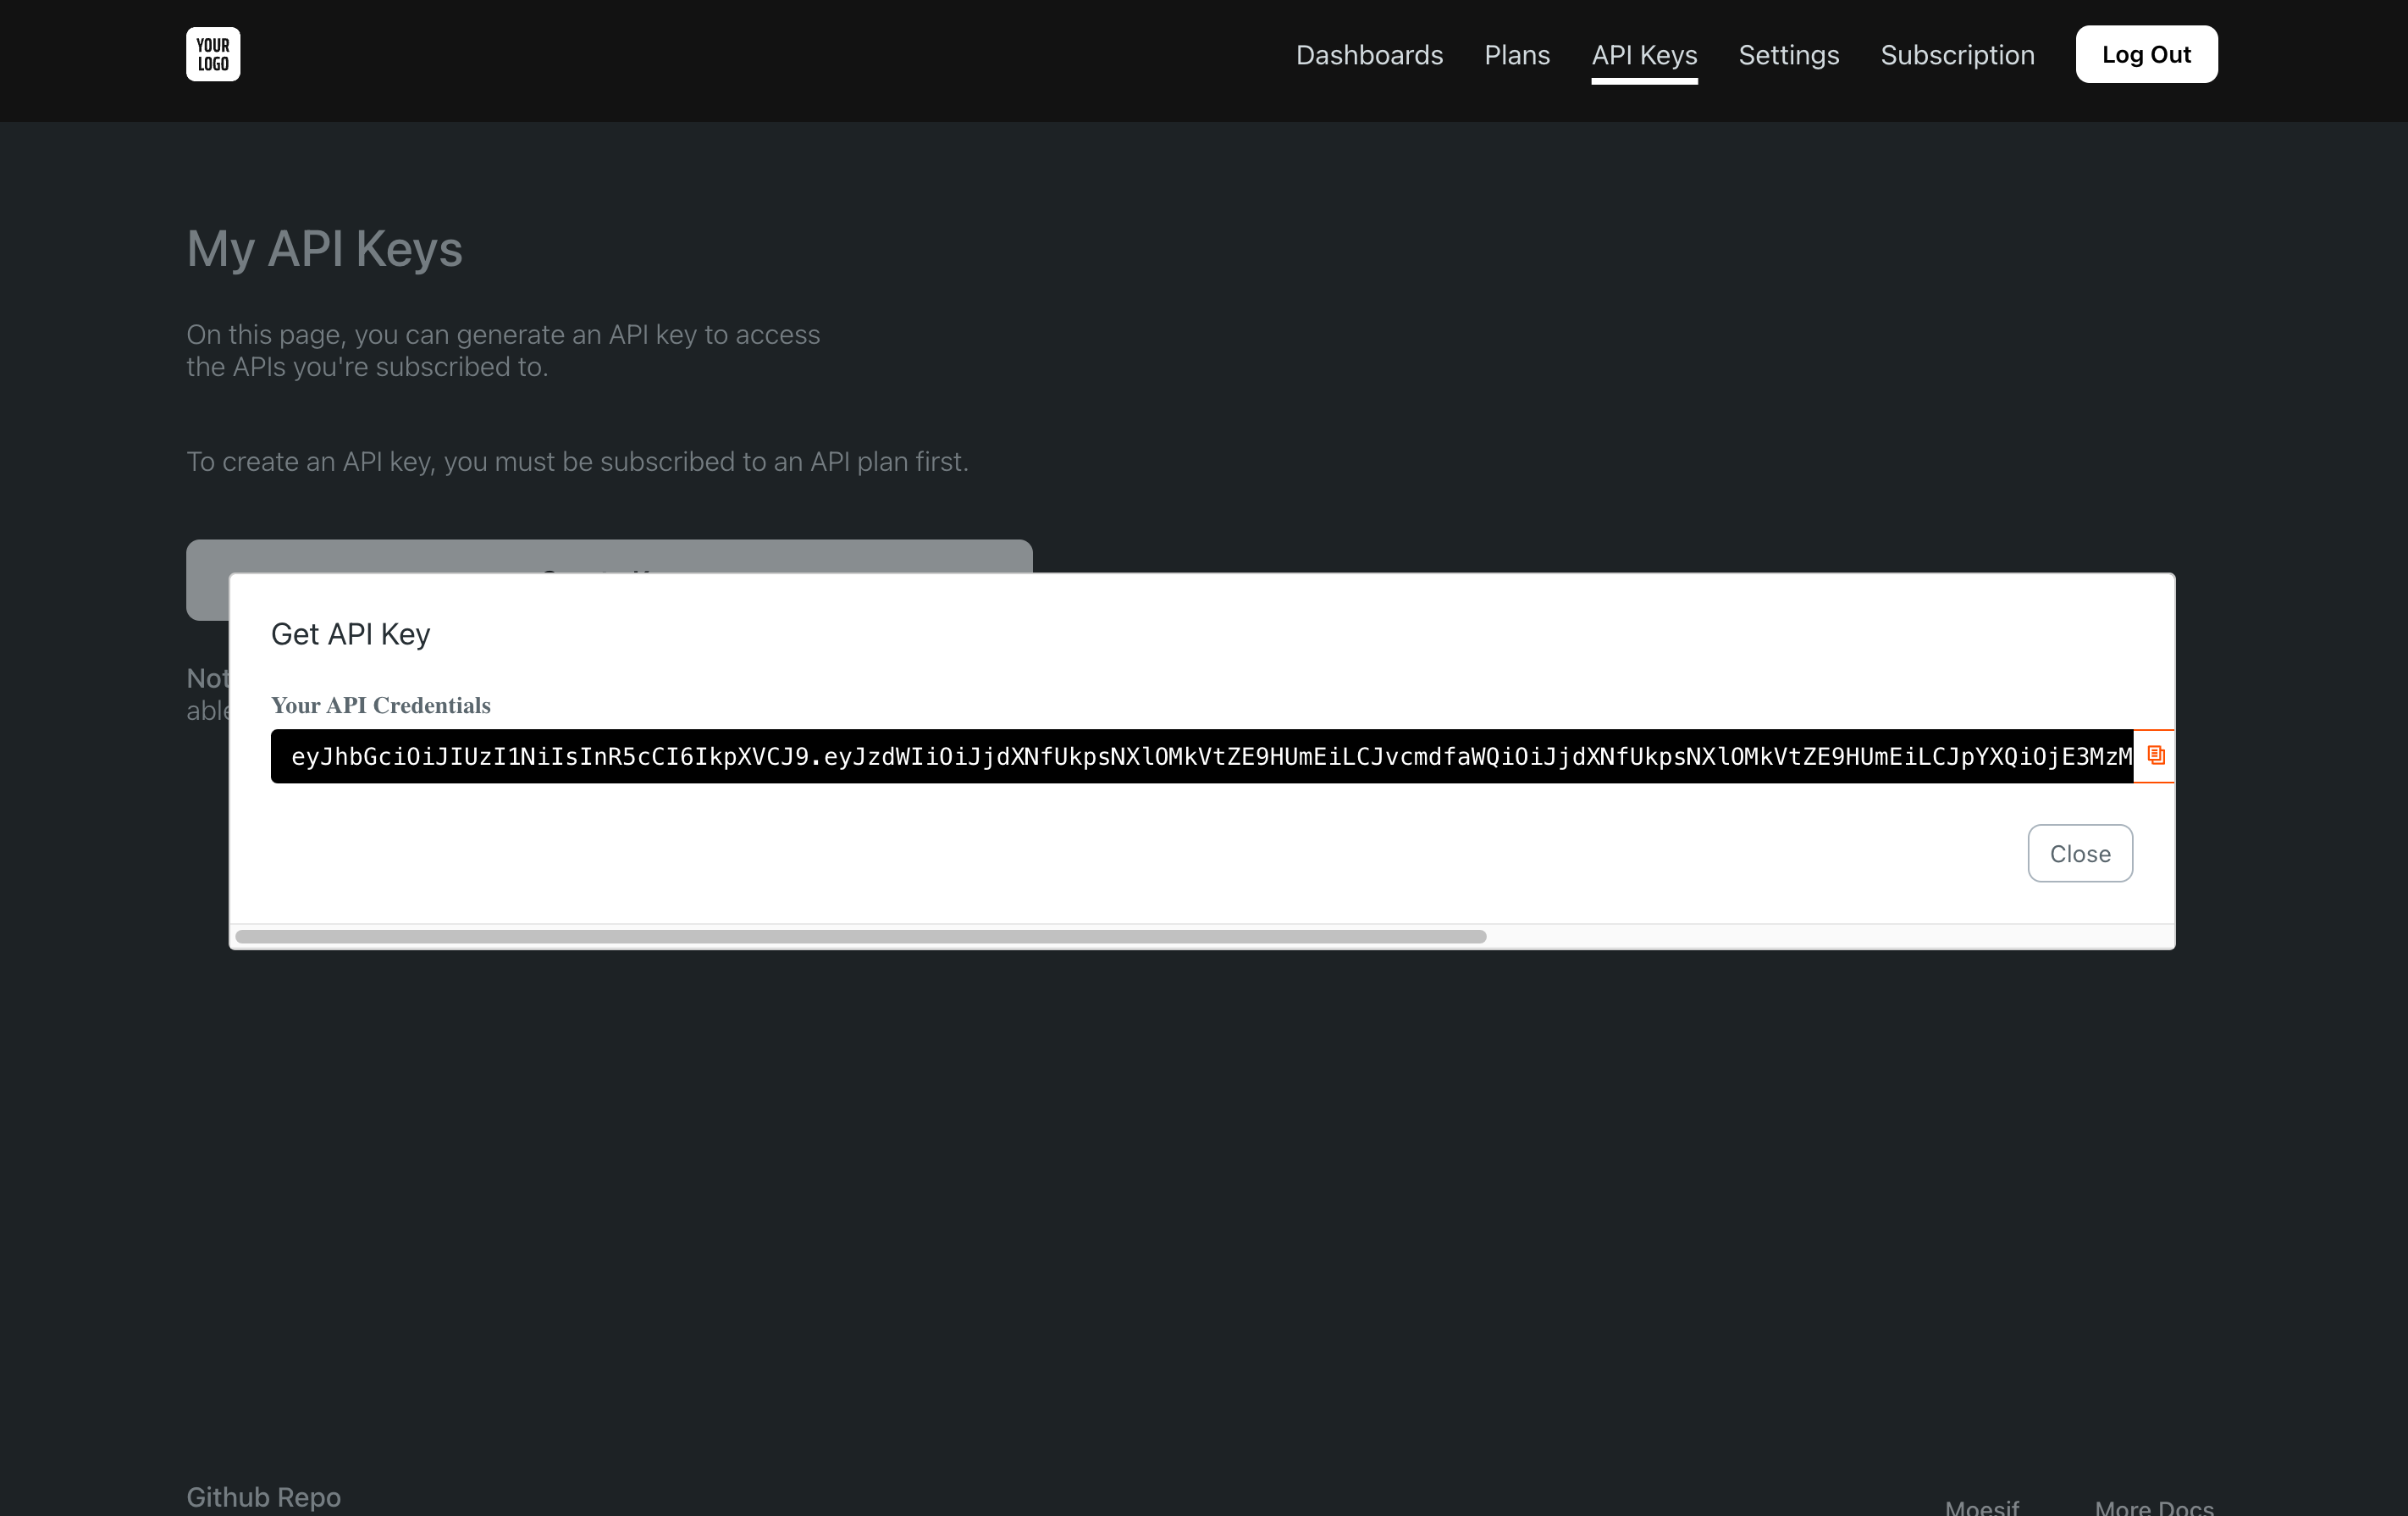
These steps help ensure that you can provision an API key and attribute API calls to specific users accurately.
Verifying Functionality
After setup, verify that the newly created user has been propagated to all connected services. Check each service, such as identity, billing, and key provisioning platforms, to confirm proper integration. Refer to the documentation for your specific plugin providers for further details.