Managing Dashboards
This page describes how you can manage your dashboards.
Moving dashboards and workspaces
Each dashboard consists of workspace tiles. Workspace tiles can be moved within a dashboard via drag-n-drop. Simply click-and-hold on the Workspace tile you’d like to move and place it as desired within the grid.
You can move workspace tiles into other dashboards by clicking and holding a tile, dragging them into the desired dashboard hierarchy in the left nav and releasing the item. This will then result in the moved dashboard appearing in the destination dashboard.
Dashboards can be nested under other dashboards by also dragging them under the desired dashboard within the left nav.
We highly recommend that you organize your dashboards by team or product. The prebuilt dashboards Moesif provides can give you an idea about how to organize.
Dashboard actions
Each dashboard allows you to perform a set of actions.

The following actions are available:
- Save a dashboard.
- Delete a dashboard.
- Make a copy of a dashboard.
- Set the refresh interval for a dashboard.
- Set the time period for a dashboard.
- Apply filters globally for event based workspaces in a dashboard.
Saving dashboards
Afte you’ve made a change to a dashboard, for example, applied a global filter, select Save to save your changes.
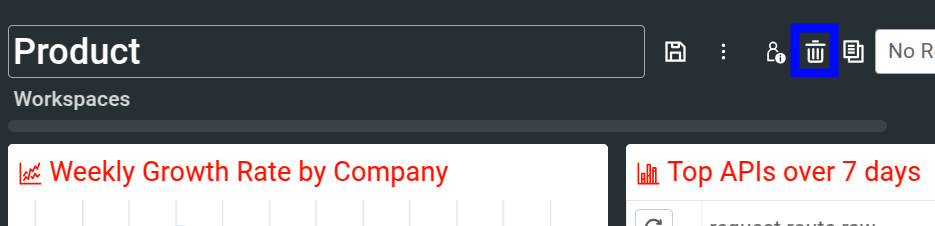
Deleting dashboards
To delete a dashboard, select Delete.
Before you delete a dashboard, carefully examine any charts and other dashboards that a particular dashboard holds. Delete them first or copy them to another dashboard if necessary. This ensures that you don’t accidentally incur any data loss by deleting a parent dashboard.
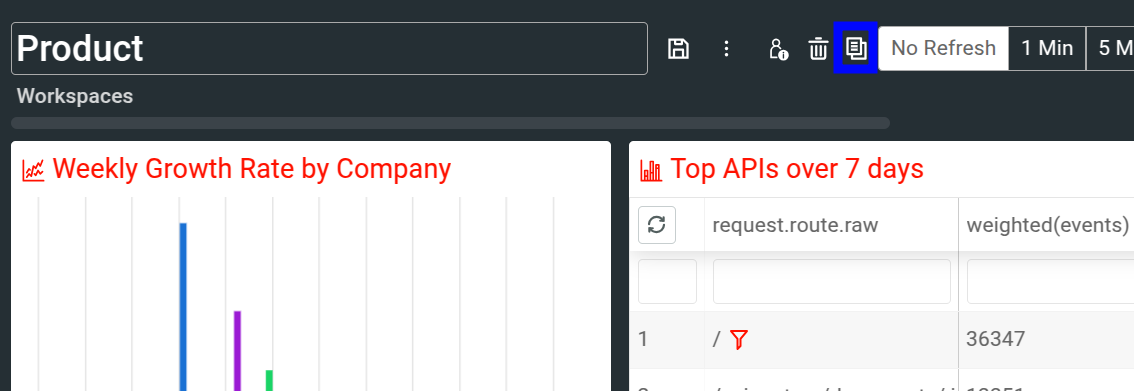
Copying dashboards
You can duplicate any dashboard by selecting Copy in Dashboard Actions.
This action copies all the charts within the dashboard. If you edit a copied dashboard, it doesn’t impact the original dashboard.
Duplicating dashboards can prove useful when you want a template dashboard that already contains all the metrics you want for all new projects or apps.